Tuesday, September 10, 2013

Chinese Pork and Noodle Stir Fry

I had a revelation last week.  I realized that, although the name of my blog is "Living Lux But Lighter," most of my recipes are...well...not so light.  More like indulgent!  So rather than change my blog name, I thought it might actually be a good idea to include a few "lighter" recipes.  Brilliant, eh?  I mean, I don't sit around eating Decadent Caramel Brownies all day!  If only.

So, enjoy with me a new recipe we tried just last week.  It's adapted from Betty Crocker The 300 Calorie Cook Book, one of the purchases I made a few years ago when hubby and I decided to drop some pounds.  We've been gravitating back to lower calorie meals of late, because if one wants to enjoy a salty snack or adult beverage in the evening, one needs to not eat all of one's available calories at dinner!
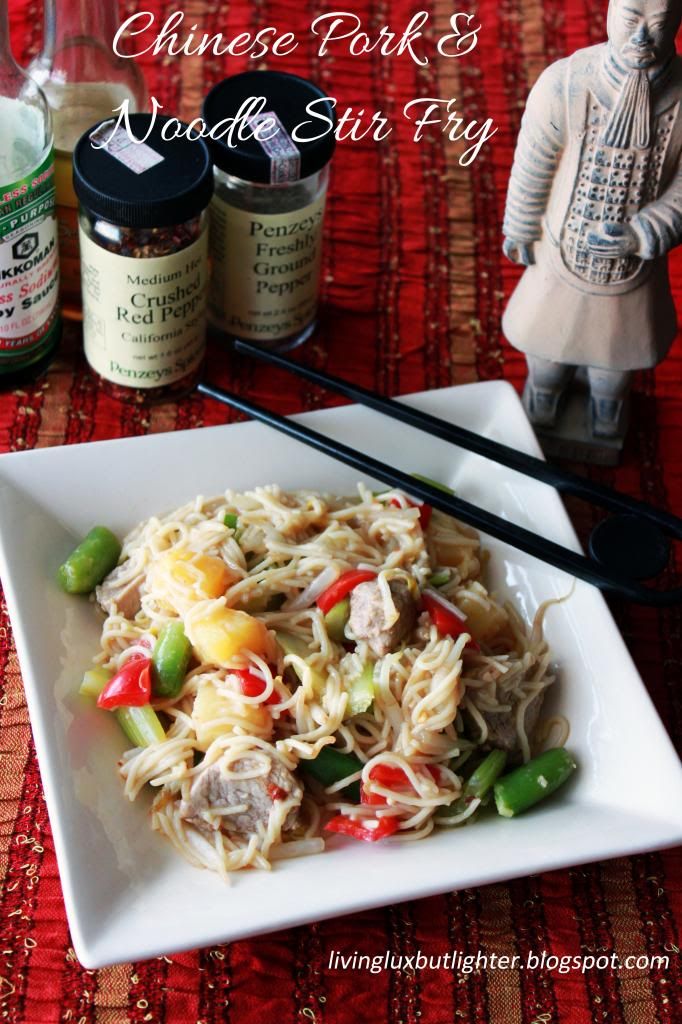


Chinese Pork and Noodle Stir Fry
Printer-friendly copy here

Ingredients:
1 - 8 oz. can pineapple chunks in juice, drained (juice reserved)
1 Tablespoon soy sauce
1 teaspoon Splenda brown sugar, packed
2 teaspoons minced garlic
1 Tablespoon cornstarch
1/2 lb. pork tenderloin, cut into 1/4 inch slices
4 oz. uncooked Ronzoni Smart Taste spaghetti
2 teaspoons sesame oil
1/4 cup fat-free chicken broth
1 medium bell pepper (any color), chopped
4 stalks celery, chopped
4 oz. fresh sugar snap peas, strings removed, cut in half
8 oz. bag mung bean sprouts
1/4 teaspoon red pepper flakes, optional
1/2 teaspoon ground black pepper

Directions:
In a medium glass bowl, mix reserved pineapple juice, soy sauce, Splenda brown sugar, garlic and cornstarch.  Add pork.  Cover and marinate in the refrigerator for at least one hour but no longer than four hours.  Cook and drain the pasta as directed on package.  In a large skillet or wok, heat sesame oil over medium-high heat.  Add pork and marinade, stir-fry 2 minutes.  Remove pork from skillet and add broth, bell pepper and celery; cook 6 minutes, stirring frequently.  Add peas, pineapple, pasta and bean sprouts.  Cook 2 minutes, stirring constantly.  Return pork to skillet.  Cook and stir about 1 minute until sauce is thickened.  Garnish with red pepper flakes, if desired, and black pepper.  Serve.

Note:
Replace mung bean sprouts, bell pepper, celery, and/or sugar snap peas with any combination of other vegetables, such as bok choy, onion, water chestnuts, broccoli, or baby corn.  This will affect calorie count.

Serves: 4
Calories:  265

Tuesday, September 3, 2013

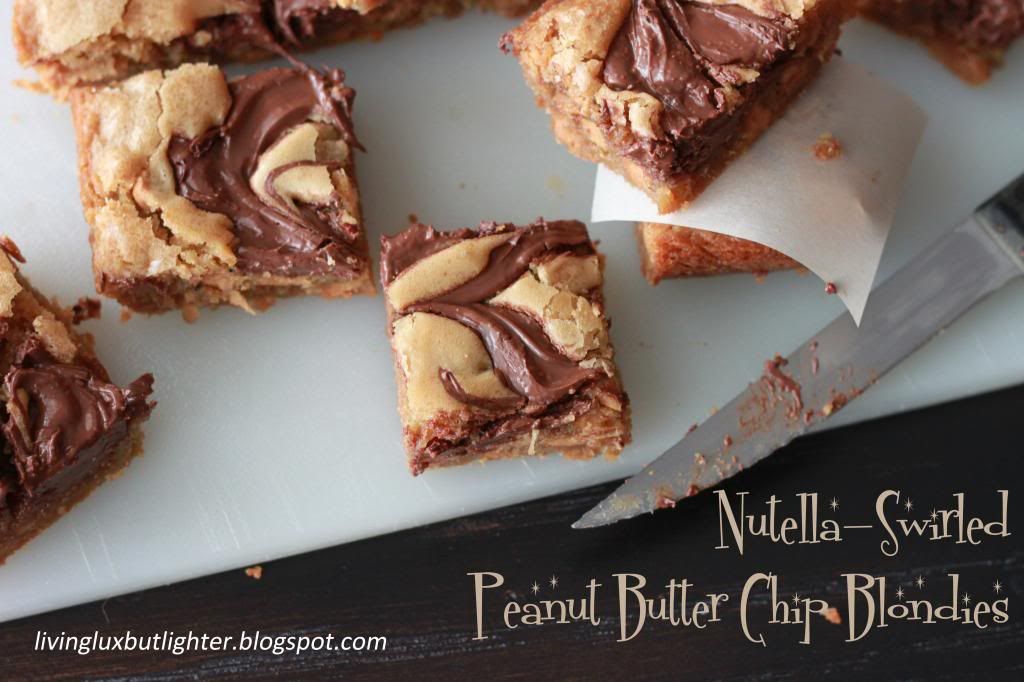
Nutella-Swirled Peanut Butter Chip Blondies

My boy Bubba is a Nutella fiend.  He asks me for spoonfuls (sorry, buddy, request denied).  All summer I made him Nutella-Stuffed Cinnamon Sugar Muffins for breakfast.  Then he wanted to try something different, so recently I've been making him Skinny Double Chocolate Chip Muffins that I "frost" with Nutella.  Funny, because I only discovered the stuff in the last couple of years.  And now we go through a lot of Nutella.  We buy the mega-jar at Sam's Club!

When I saw a recipe for these Nutella-Swirled Peanut Butter Chip Blondies from one of my favorite bloggers, Averie Sunshine, I figured they would be a big hit with my little man.  I was right.  Since Averie published her recipe in August, I've made three batches!

The original recipe calls for peanut butter chips and Nutella, but I've also tried a semi-sweet chocolate chip/Nutella combination.  Surprisingly, Bubba prefers the peanut butter chip version (he's usually ALL ABOUT chocolate).  I think these bars would also be tasty with white baking chips and Nutella or white baking chips and peanut butter instead of Nutella.  I'll have to bake another batch and test my theory!


For the recipe, visit AverieCooks.com!


Wednesday, August 7, 2013

Dark Chocolate Ice Cream with Peanut Butter Ripple

So I haven't blogged for a while.  Bad, bad me.  I have lots to blog about, I just can't seem to find the time to sit down and do it.  But since Bubba has been laid up for a week recouperating from a tonsillectomy and we've been trapped at home, I've been able to catch up on a few projects.  A post-Christmas winter wreath that's been sitting on my craft table for MONTHS is almost done, and I finally finished compiling all my photos from the first quarter of 2013 into a Shutterfly album.  Now if only I could get caught up on my checkbook...

It hasn't been a horribly hot summer here, but it is generally too warm to want to add extra heat to the house by turning on the oven.  So instead of baking, I make ice cream.  And the best recipes for ice cream, by far, come from Jeni's Splendid Ice Creams at Home.  I've blogged another ice cream recipe from her before.  The ice cream turns out so wonderfully creamy and fudgey, almost like frozen brownie dough.  It's super fantastic, and since it doesn't contain eggs, there are no worries about salmonella or curdled cream.  Try it...I think you'll like it!


Dark Chocolate Ice Cream with Peanut Butter Ripple
Adapted from Jeni Britton Bauer and Averie Sunshine
Printer-friendly copy

Honey Roasted Peanut Butter
8 oz. honey-roasted peanuts
1 1/2 tsp. vanilla

Place honey-roasted peanuts in a food processor.  Process until smooth, generally about 5 minutes (read Averie's post here for further information).  Once the peanut butter is smooth, add vanilla and continue processing until well-combined.  Transfer the peanut butter to a food-safe, covered container and refrigerate for later use.

Dark Chocolate Ice Cream
1 cup whole milk, divided
1 tablespoon plus 1 teaspoon cornstarch
2 ounces semi-sweet or bittersweet chocolate (I used semi-sweet chocolate chips)
1/4 cup heavy cream
1 cup evaporated milk
2/3 cup granulated sugar
2 tablespoons light corn syrup
1/3 cup Hershey's Special Dark cocoa
1/4 teaspoon salt

Mix 2 tablespoons of the milk with the cornstarch in a small bowl to create a slurry and set aside.  Place the chocolate chips in a medium bowl and set aside.  Fill a third large bowl with ice and water and set aside.  Combine the remaining milk, cream, evaporated milk, granulated sugar and corn syrup in a medium-size saucepan and bring to a rolling boil over medium-high heat.  Add the cocoa, whisking to incorporate, and boil for 4 minutes.  Remove from the heat and whisk in the cornstarch slurry.  Bring the mixture back to a boil over medium-high heat and cook, stirring with a spatula, until it is slightly thickened, about 1 minute.  Remove from the heat.  Gradually pour the hot milk mixture onto the chocolate.  Add salt and whisk until the chocolate has melted and the ingredients are well-blended.  Pour the liquid into a 1-gallon Ziploc freezer bag and seal.  Submerge the bag in the ice bath you created earlier.  Let stand about 30 minutes or until cold.  Pour the ice cream base into the frozen canister of an ice cream maker and process according to the manufacturer's instructions, about 25 minutes.  When the ice cream has finished mixing, remove the peanut butter from the refrigerator and spoon 1-2 tablespoons into the bottom of a 2 quart freezer-safe storage container.  Pour some of the ice cream blend on top of the peanut butter.  Alternate peanut butter and ice cream until the container is full.  Press a sheet of parchment directly against the surface of ice cream and seal with an airtight lid.  Freeze until firm, about 4 hours.

Saturday, June 15, 2013

The Lucky Monk

Last week we had the most amazing meal.  Mind you, it was completely unhealthy.  But so utterly yummy.

My hubby had to make a quick trip into O'Hare for work, so Bubba and I tagged along.  And any time we get the chance to have a meal out of town, I'm all over figuring out exactly where to go, researching menus and available cuisines.  Thank goodness for the Internet.

Using TripAdvisor, to which I've actually submitted several reviews, I discovered The Lucky Monk.  In the northwest Chicago suburb of South Barrington, it was located right near where we were planning to stay.  It's a unique, local joint (one of our criteria when dining), serving pub-style meals like burgers, pizza, and fish and chips, as well as self-brewed beers (Hubby enjoyed the Solitude Stout).  There were at least five things I could have ordered from their menu and been completely stuffed by.
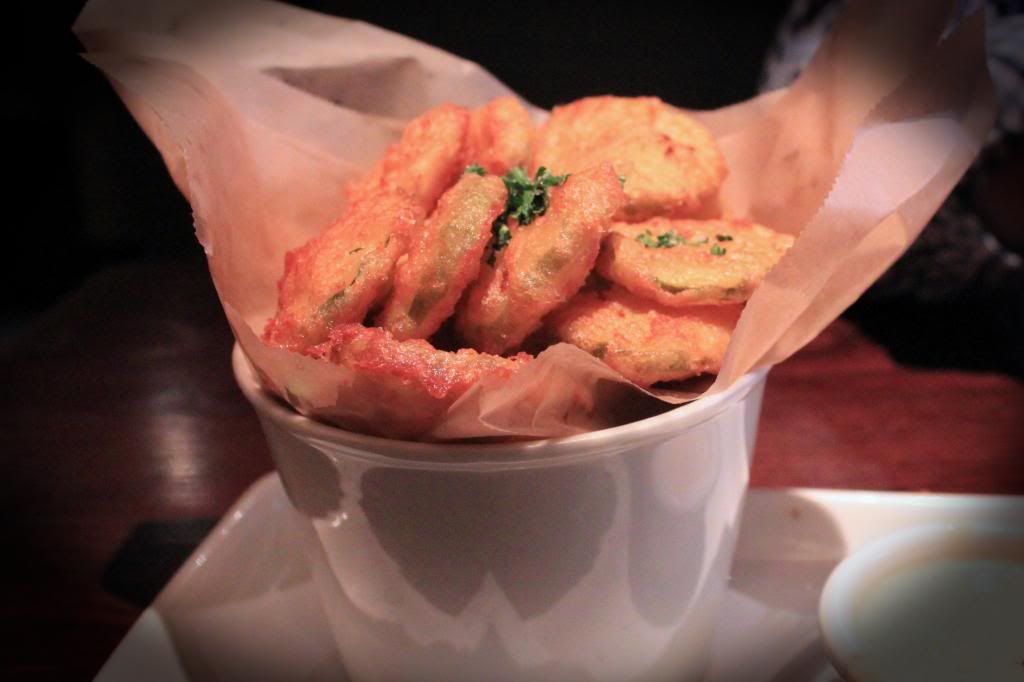
When I saw Pickle Fries on the menu, I was immediately thrilled.  I've been on a quest for good pickle fries for I don't know how long.  Luckily, Hubby was agreeable to ordering them as an appetizer so we could share.  Perfectly crispy and served with a spicy ranch dressing, I could have eaten an entire order by myself.  Certainly the best pickle fries I've come across yet.


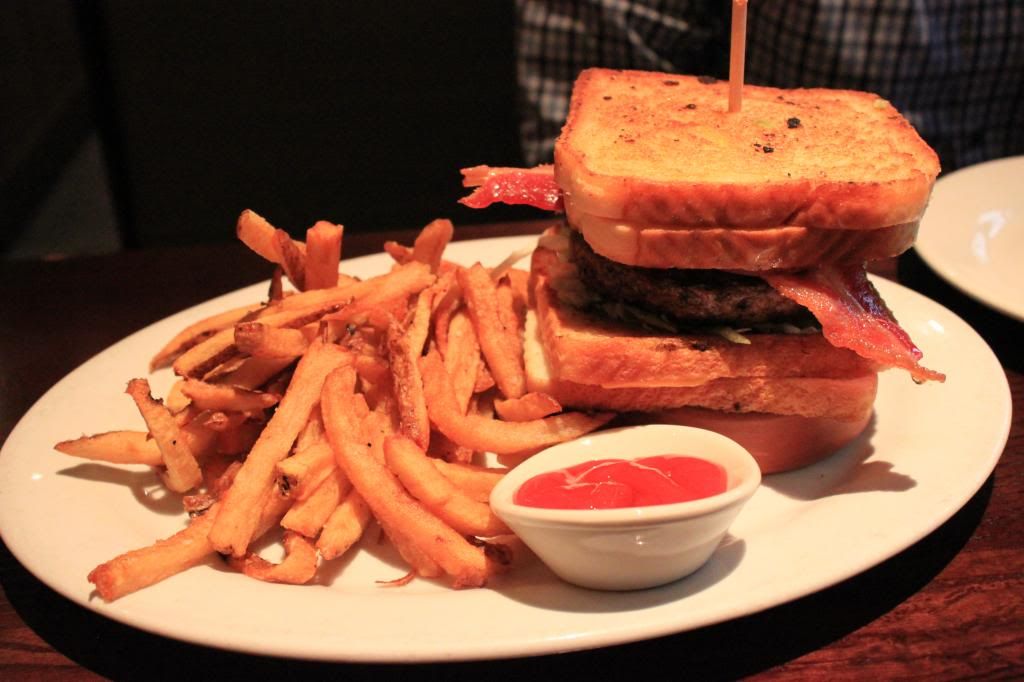
The Lucky Monk is known for their burgers, and rightfully so.  Our main course was a Grilled Cheese Burger, a half-pound USDA Prime Beef burger between two bacon-stuffed grilled cheese sandwiches.  It's served with their hand-cut fries, but we could have substituted Wisconsin cheese curds if we wanted (cholesterol much?).  I die.  Simply incredible.  And easily shared.  Wisely so.


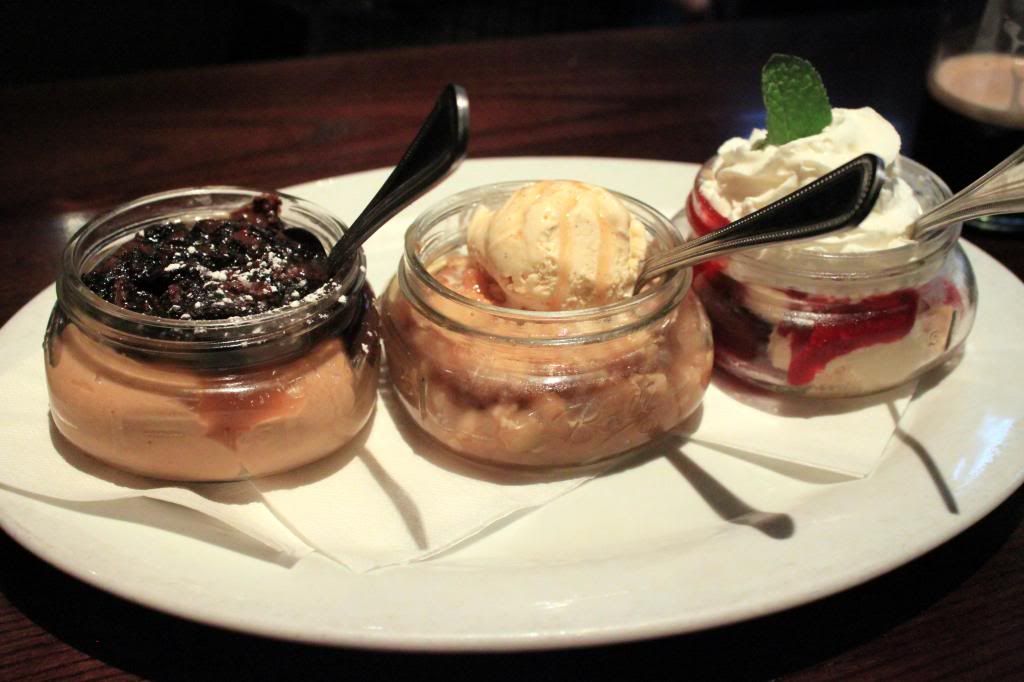
Then, because we hadn't consumed enough calories yet, we decided to go all out and order dessert.  Yes, we did.  We chose the Holy Trio of Mason Jar Sweets and picked Warm Apple Crisp, Peanut Butter Brownie, and Vanilla Raspberry Cheesecake.  Hubby was enamored with the creamy deliciousness of the Peanut Butter Brownie (no shock there), but surprisingly, my favorite was the Warm Apple Crisp.  I'm usually not big on baked apples, but this was perfectly spiced and the apples weren't mushy at all.  Loved!!  I even bought Mason jars at Target later that evening so I could attempt this fantastic-ness myself at home.  Because I don't eat enough dessert already.

Needless to say, through no fault of The Lucky Monk and purely because of my sin of gluttony, I felt a bit ill later that night.  Too.  Much.  Food.  Eek.  Can you imagine if we hadn't split everything?!

I can't wait to go back and try their Warm Pretzel Trio.  And Crispy Fish Tacos.  And Cookie Skillet.  Shared, of course...

Tuesday, April 30, 2013

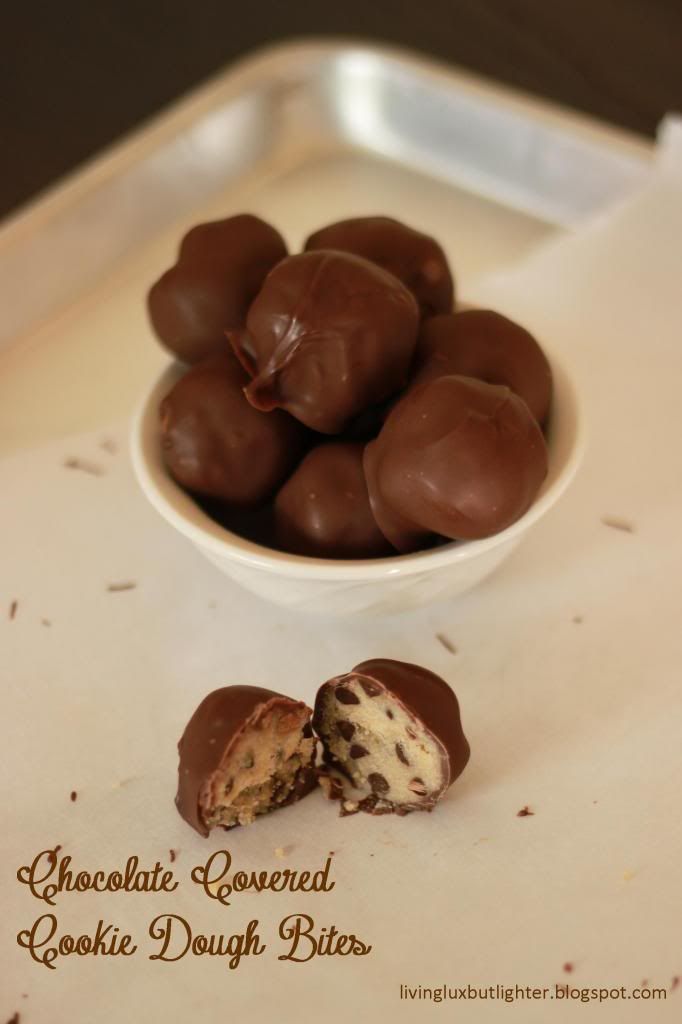
Chocolate-Covered Cookie Dough Bites

So remember my goal for 2013?  The blogging every week goal?  Yeah, well, that hasn't turned out like I hoped (i.e., my first post for April is on the LAST day of the month!).  Life happens though.  Like your kid getting sick (again) while your husband is away on business, which can really throw a wrench in your plans.  Catching said sickness from kid and feeling not so hot is a pretty big wrench, too.  Among other things.

So I hope this recipe will make up for my absence.  Now that it's (finally) warming up, it's a great no-bake way to fill your cookie craving.  And I'm trying out Ziplist for the printer-friendly copies of this recipe.  I hope I like it.  And I hope you do, too!


Chocolate-Covered Cookie Dough Bites
Adapted from Picky Palate
Printer-friendly copy

Ingredients:
1 stick (8 tablespoons) butter, room temperature or softer (but not melted)
1/2 cup granulated sugar
1/2 cup brown sugar, packed
1 teaspoon vanilla extract
1 cup all-purpose flour
1/4 teaspoon salt
1 cup mini chocolate chips
1 24-oz. package of chocolate Almond Bark (or equivalent amount of preferred variety of chocolate chips)

Directions:
Place butter and sugars in a large bowl.  Using an electric or stand mixer, beat on high for 2-3 minutes, until creamy. Add vanilla and mix until well combined.  Add flour, salt, and chocolate chips and mix.  The dough will be quite crumbly.  Line a jelly roll pan with parchment paper.  Use a small cookie scoop to collect the dough.  Place the dough in the palm of your hand and form it into a ball.  Because it is crumbly, you probably won't have luck rolling it into a ball, which is why squeezing seems to work better.  Place the dough ball on the parchment-lined pan and repeat.  The recipe makes 26-28 dough balls.  Place the jelly roll pan in the freezer for about 30 minutes.

While the dough balls are in the freezer, melt the chocolate using a double boiler or equivalent, stirring as necessary until smooth.  Avoid burning or scorching.  Remove the chocolate from the heat and allow to cool to room temperature.  Again, stir occasionally as necessary to keep it from setting up.

Remove the dough balls from the freezer.  Dunk the dough bites in the chocolate, one by one, until evenly coated.  Remove and place back on the parchment-lined jelly roll sheet.  Repeat until all the bites are coated.  Place the pan back into the freezer for an additional 30 minutes to solidify the chocolate.

Store the bites in a covered container in the refrigerator.  Remove prior to serving and allow to come to room temperature.