I have to say, the first time I saw
Lean Cuisine Salad Additions in the freezer case at Target, I kind of rolled my eyes. Because, really, who needs help making a salad? It's a little lettuce, you add all the veggies you like, maybe a bit of protein, and your favorite dressing. It's really not hard.
Upon closer inspection however, I saw that one of the varieties of Salad Additions was Southwest-Style Chicken, which sounded super good, especially because I'm slightly obsessed with
McDonald's Southwest Salad with grilled chicken. I love it. I've even discovered a
Hungry Girl recipe for the salad (I know, a recipe for salad...kind of like a recipe for a sandwich, but believe me, it's good) which is seriously yummy, just not readily available in Iowa in January. So when I came across a manufacturer coupon for $1 off two Salad Additions, and another
Target coupon for a free bag of salad when you buy two Salad Additions, I thought it must be a sign. I bought them.
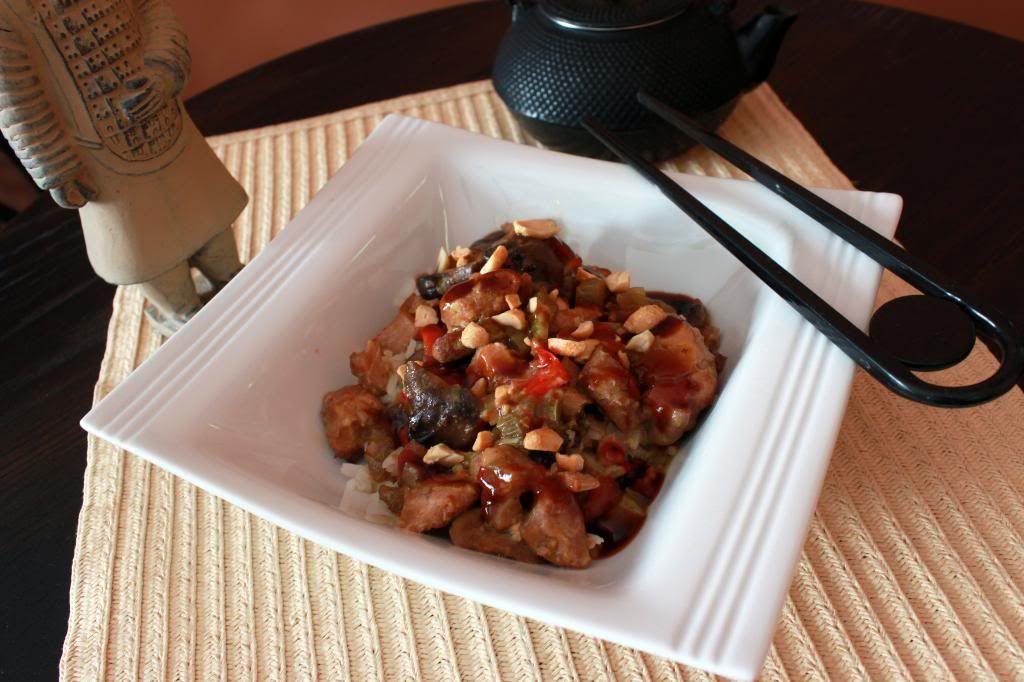
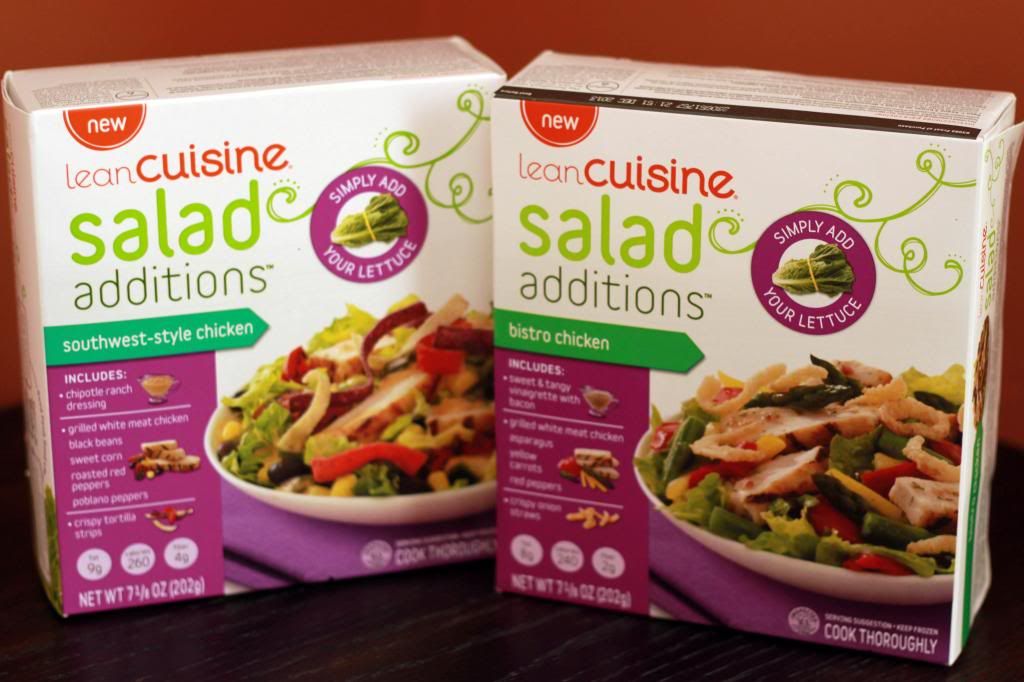
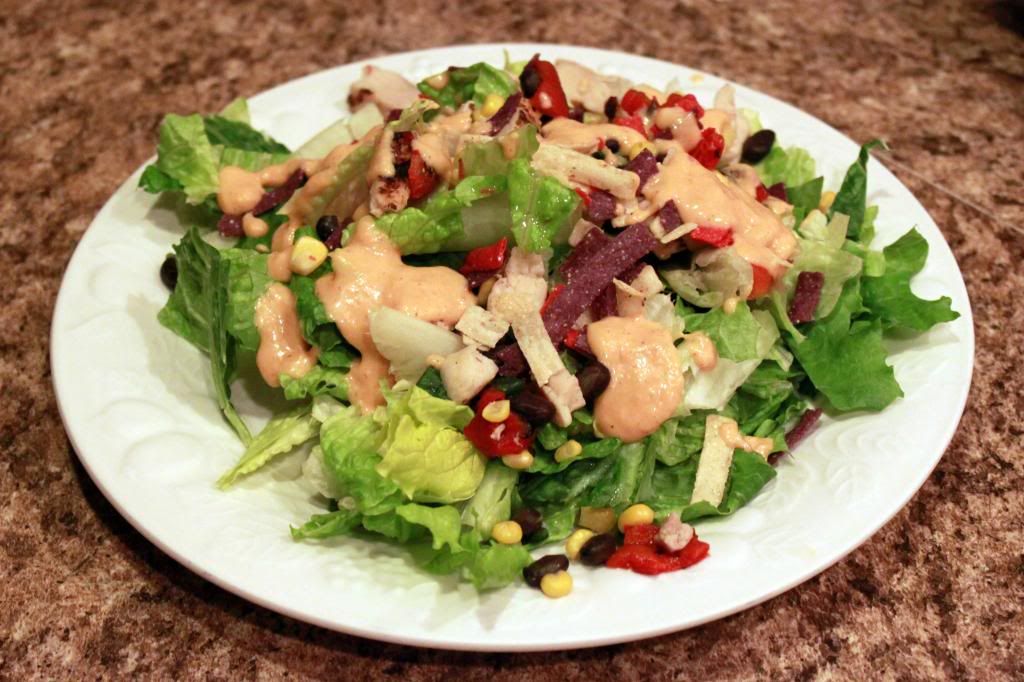
Southwest-Style Chicken
The Southwest-Style Chicken comes packaged with three pouches. One includes chipotle ranch dressing, the second, a chicken and vegetable steam pouch, has grilled white meat chicken, black beans, sweet corn, roasted red peppers, and poblano peppers. The final pouch is crispy tortilla strips. According to the box, one package contains 260 calories, 9 grams of fat, 18 grams of protein, and 590 mg of sodium. The idea is to just "add your lettuce" and you have a meal. My full plate of lettuce added 25 calories.
The first step is to remove all the pouches from the box, which needs to be frozen. You place the unopened dressing pouch in a cup of room temperature water to thaw, set aside the crispy tortilla strips, and place the chicken and vegetable steam pouch in the microwave for 2 1/2 minutes. When the pouch is finished cooking, you are supposed to leave it in the microwave an additional 1 minute before placing it on top of your lettuce. Then you add the salad dressing and tortilla strips.
One issue I had with the instructions was that it never mentioned draining the steam pouch. It had quite a bit of water in it when I took it out of the microwave. If I hadn't drained it, it would have added a lot of hot water to the salad. Yuck. Fortunately I was paying attention and was able to empty the water from the pouch before dousing my salad with it. It might be something the manufacturer should mention.
Another issue I had with the salad was the texture of the peppers. There's something not quite right about mushy peppers on a salad. The chicken, corn, and beans were good, but the peppers through me off a bit. But the flavor was really good, with a nice zing, so I got over the whole texture thing.
I ate the Southwest-Style Salad Additions for dinner on an evening that I don't normally workout, and the protein held me pretty well (meaning, by evening snack time, I wasn't ravenous and ready to bite off my arm).
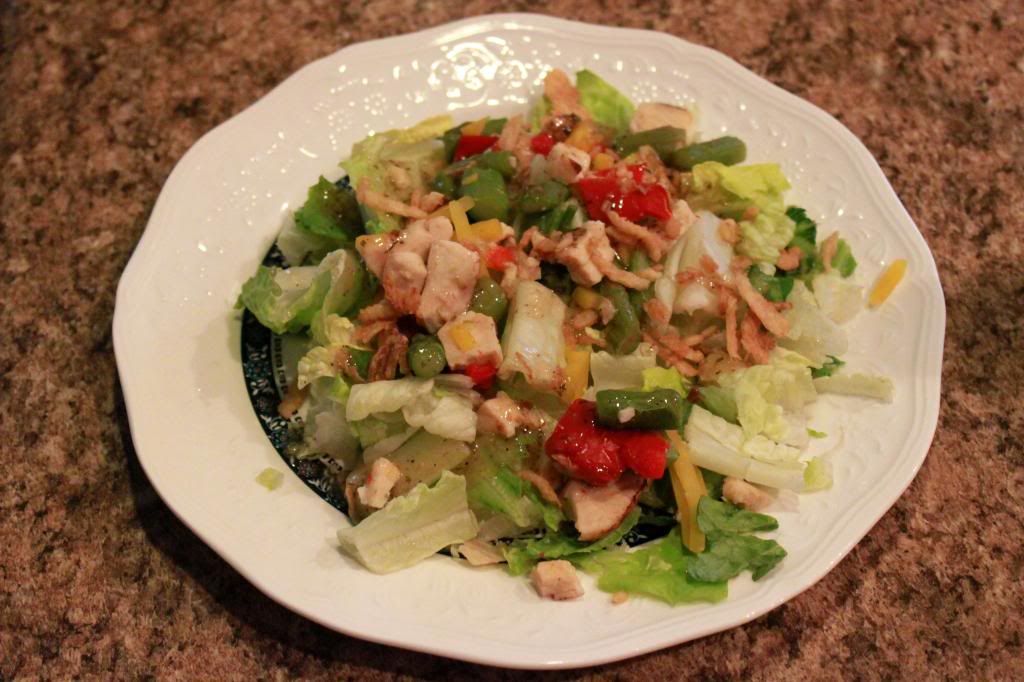
Bistro Chicken
The Bistro Chicken also comes packaged with three pouches - 1) a sweet and tangy vinaigrette dressing with bacon, 2) grilled white meat chicken, asparagus, yellow carrots, and red peppers, and 3) crispy onion straws. These ingredients account for 240 calories, 8 grams of fat, 15 grams of protein, and 430 mg of sodium. A full plate of lettuce added 25 calories. This variety of Salad Additions is prepared the same way as the Southwest-Style Chicken.
Again, I had the problem with the water in the steam pouch. Since I knew to expect it due to my prior experience, I drained it without issue. And I also had concerns with the texture of the vegetables. I really couldn't get over cooked carrots and asparagus in my crunchy salad. The dressing had a nice flavor, but I think it was a little heavy on the onion, of which I'm not really a fan, so the crispy onion straws were not a favorite, either.
I ate the Bistro Chicken Salad Additions for lunch on a day that I worked out. I was pretty hungry by the time dinner rolled around that evening.
The VerdictWould I buy Lean Cuisine Salad Additions again? It depends. If I had a coupon or they were on sale, I would probably get the Southwest-Style Chicken for lunch, if I wasn't going to be home but would have access to a microwave. I really liked the kick of the dressing. Maybe Nestle should bottle that and sell it! I don't think I'd get the Bistro Chicken variety. I just didn't care for the cooked veggies and I didn't like tasting onion all afternoon. The Cranberry & Chicken variety might be worth trying, but I don't think I'd purchase the Asian-Style since I'm not really big on Asian-flavored dressing.
What about you? Is this a product you'd be willing to try? What flavors do you think you'd like?
Disclaimer: This review is my entirely impartial, unsolicited
opinion. No compensation or other consideration was provided by
the manufacturer of Lean Cuisine Salad Additions, and I purchased the products myself (with coupons, of course!).